Thrust Vector Controlled Rocket
This post is about a Thrust Vector Controlled (TVC) Rocket project I am working on! This post was thrown together quickly to showcase some of the progress that has been made but lacks most of the details.
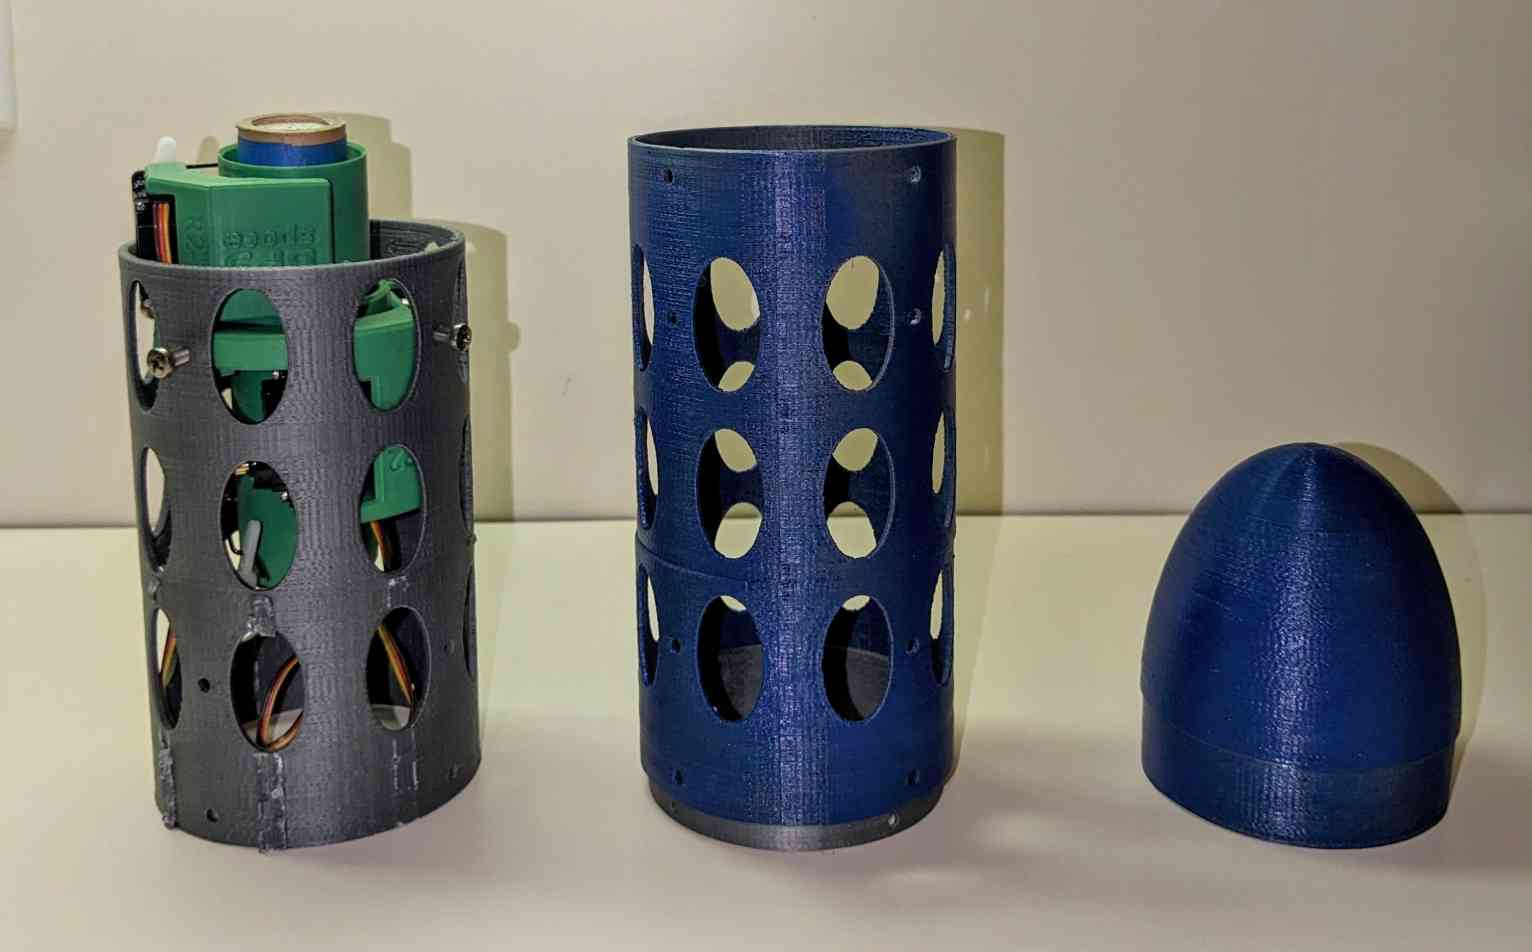
Thrust Vector Controlled Rocket Project:
This project is a work in progress but can roughly be broken down into four parts.
- Flight computer board design and assembly (complete)
- 3d modeling and part selection (mostly complete)
- Physics/control algorithm simulation (complete but need updated rocket characterization to utilize)
- Flight software (peripheral drivers mostly written, main loop WIP)
Enos Flight Computer
I designed a flight controller from scratch using KiCad and had it produced and assembled by JLCPCB. This was my first ever board design, which actually worked on the first try!
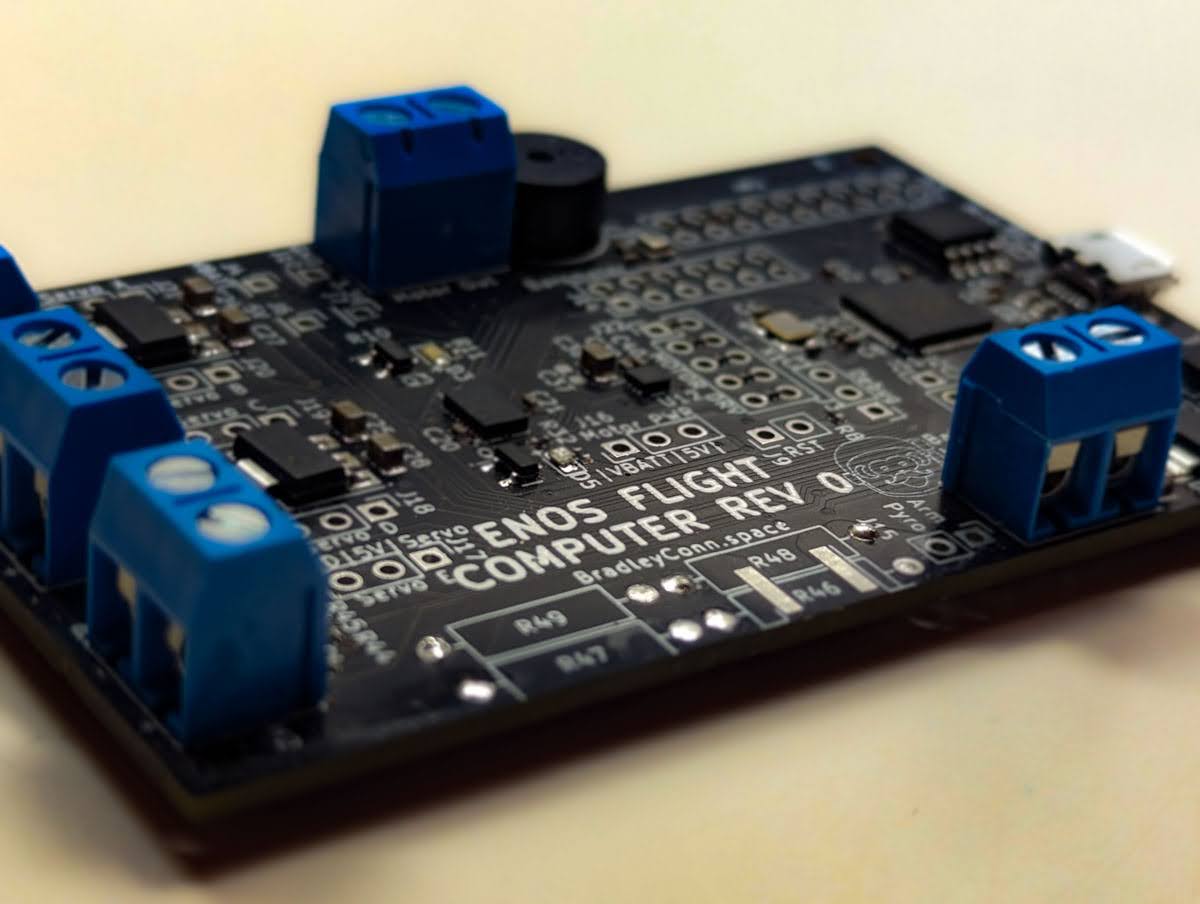
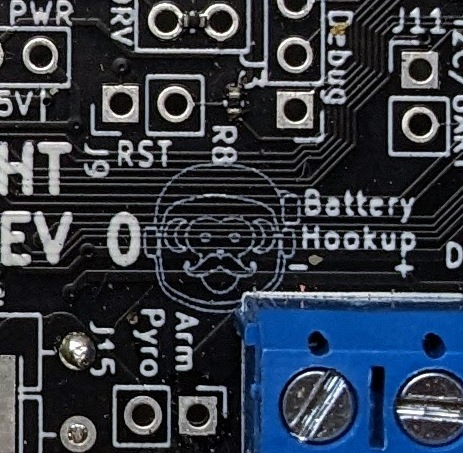
Enos is named after the first chimpanzee to reach orbit! He’s depicted in the mascot logo, showcased here:
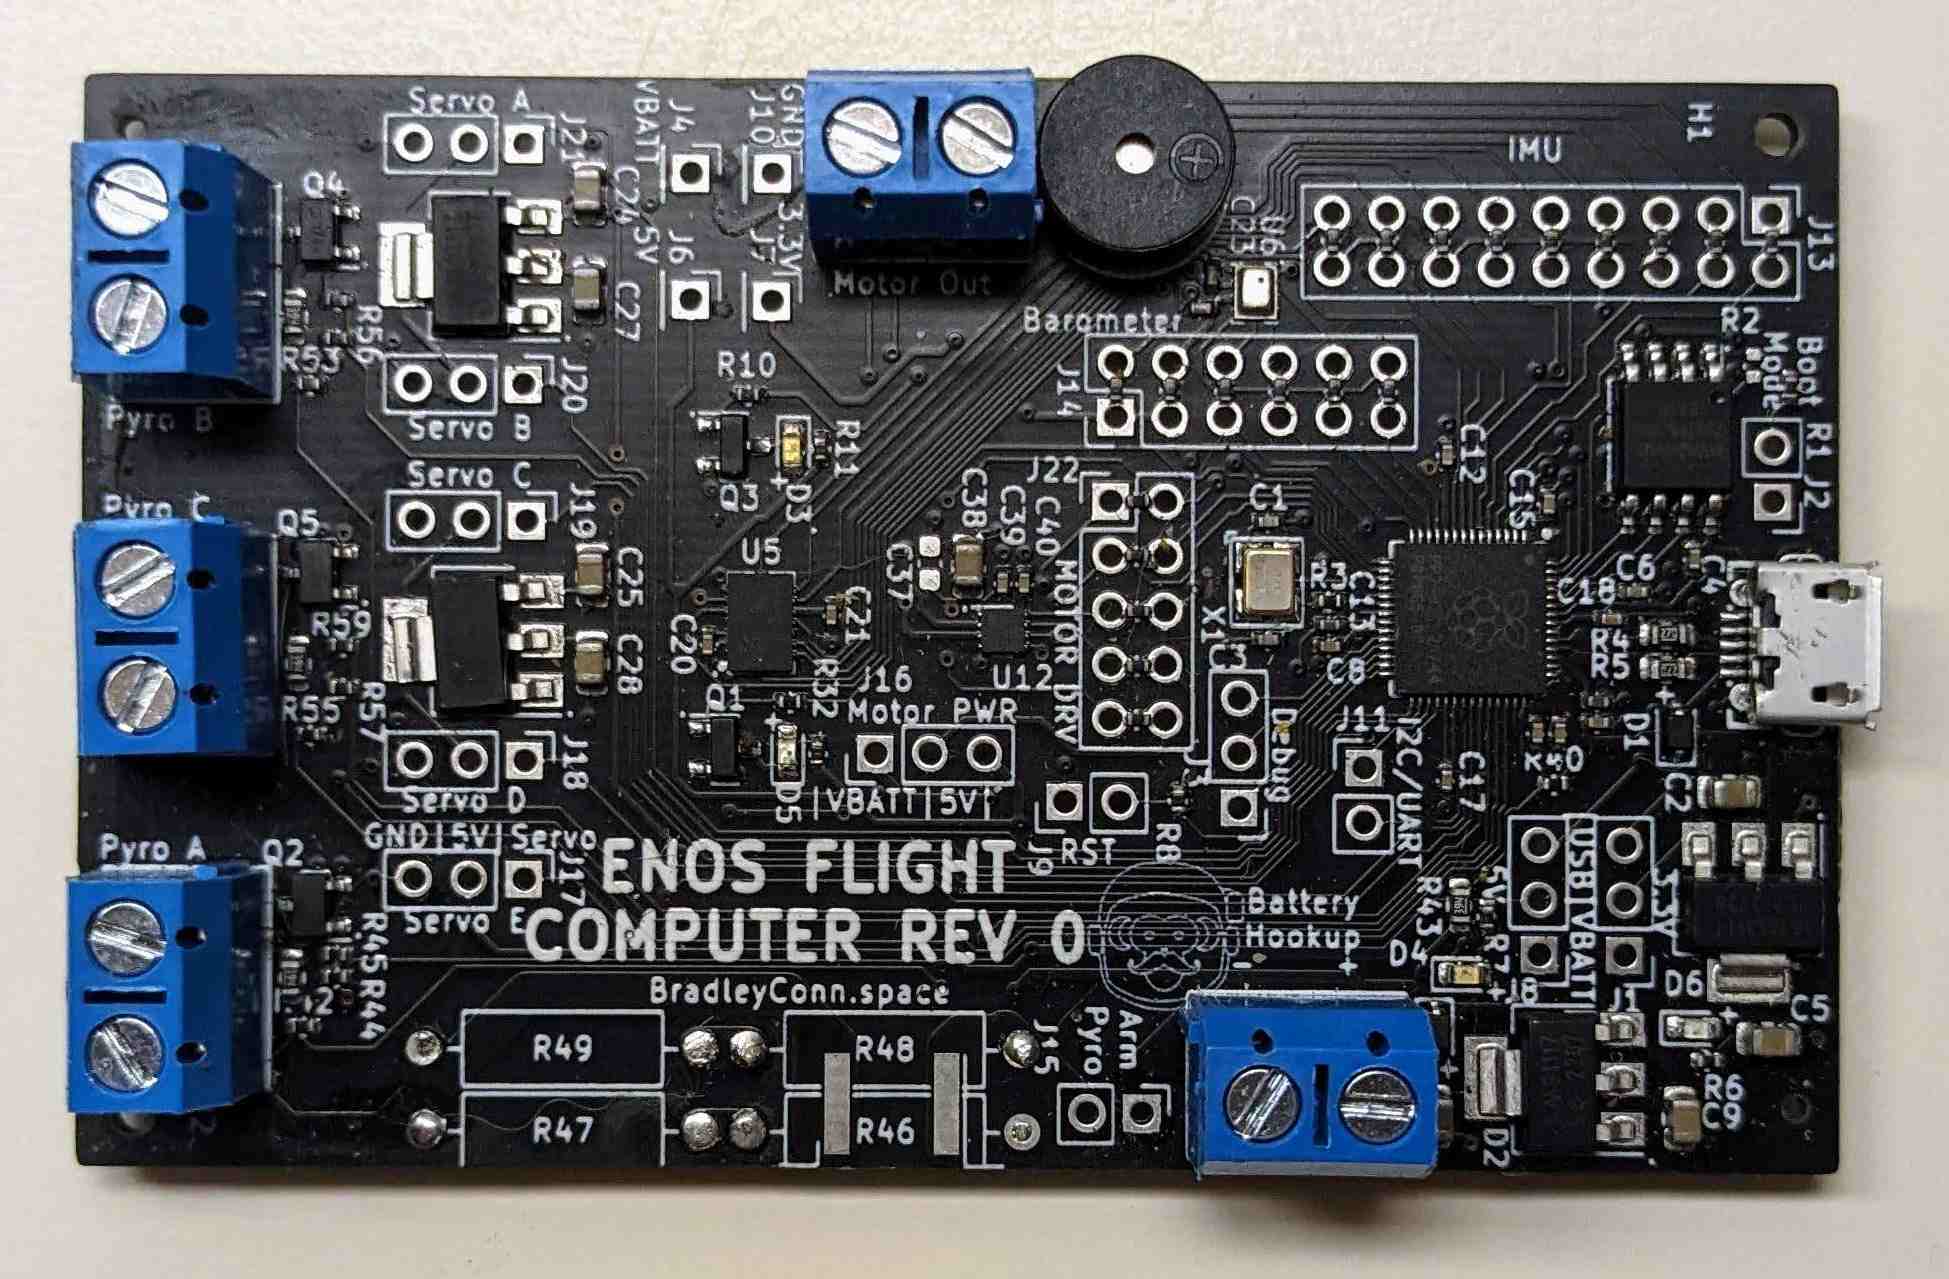
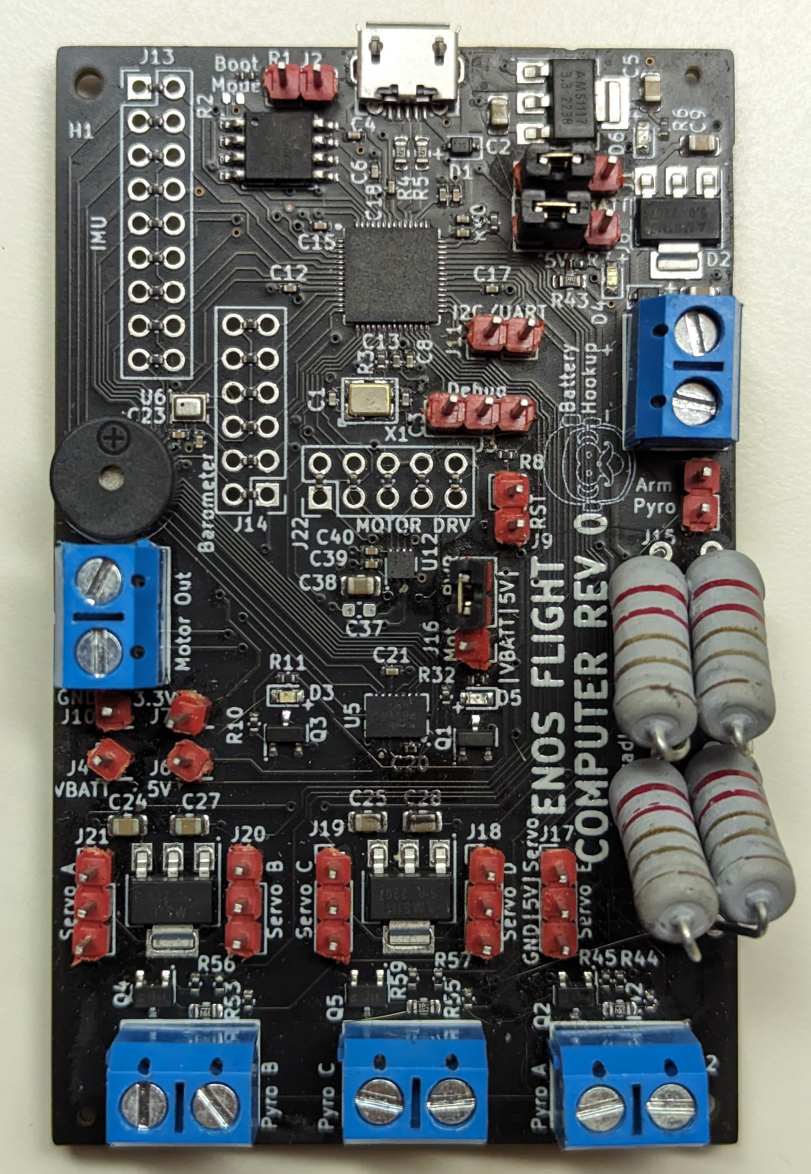
The motivation for designing my own board, even though there are many out there, was because they were all very expensive. This board aimed to create a compelling TVC flight computer as cheaply as possible. This two-layer, single-sided board came out to about 2 inches by 3.5 inches and cost roughly $15 each before shipping for a batch of 5 boards. In total, including shipping, it was less than $100. The full board is shown below:
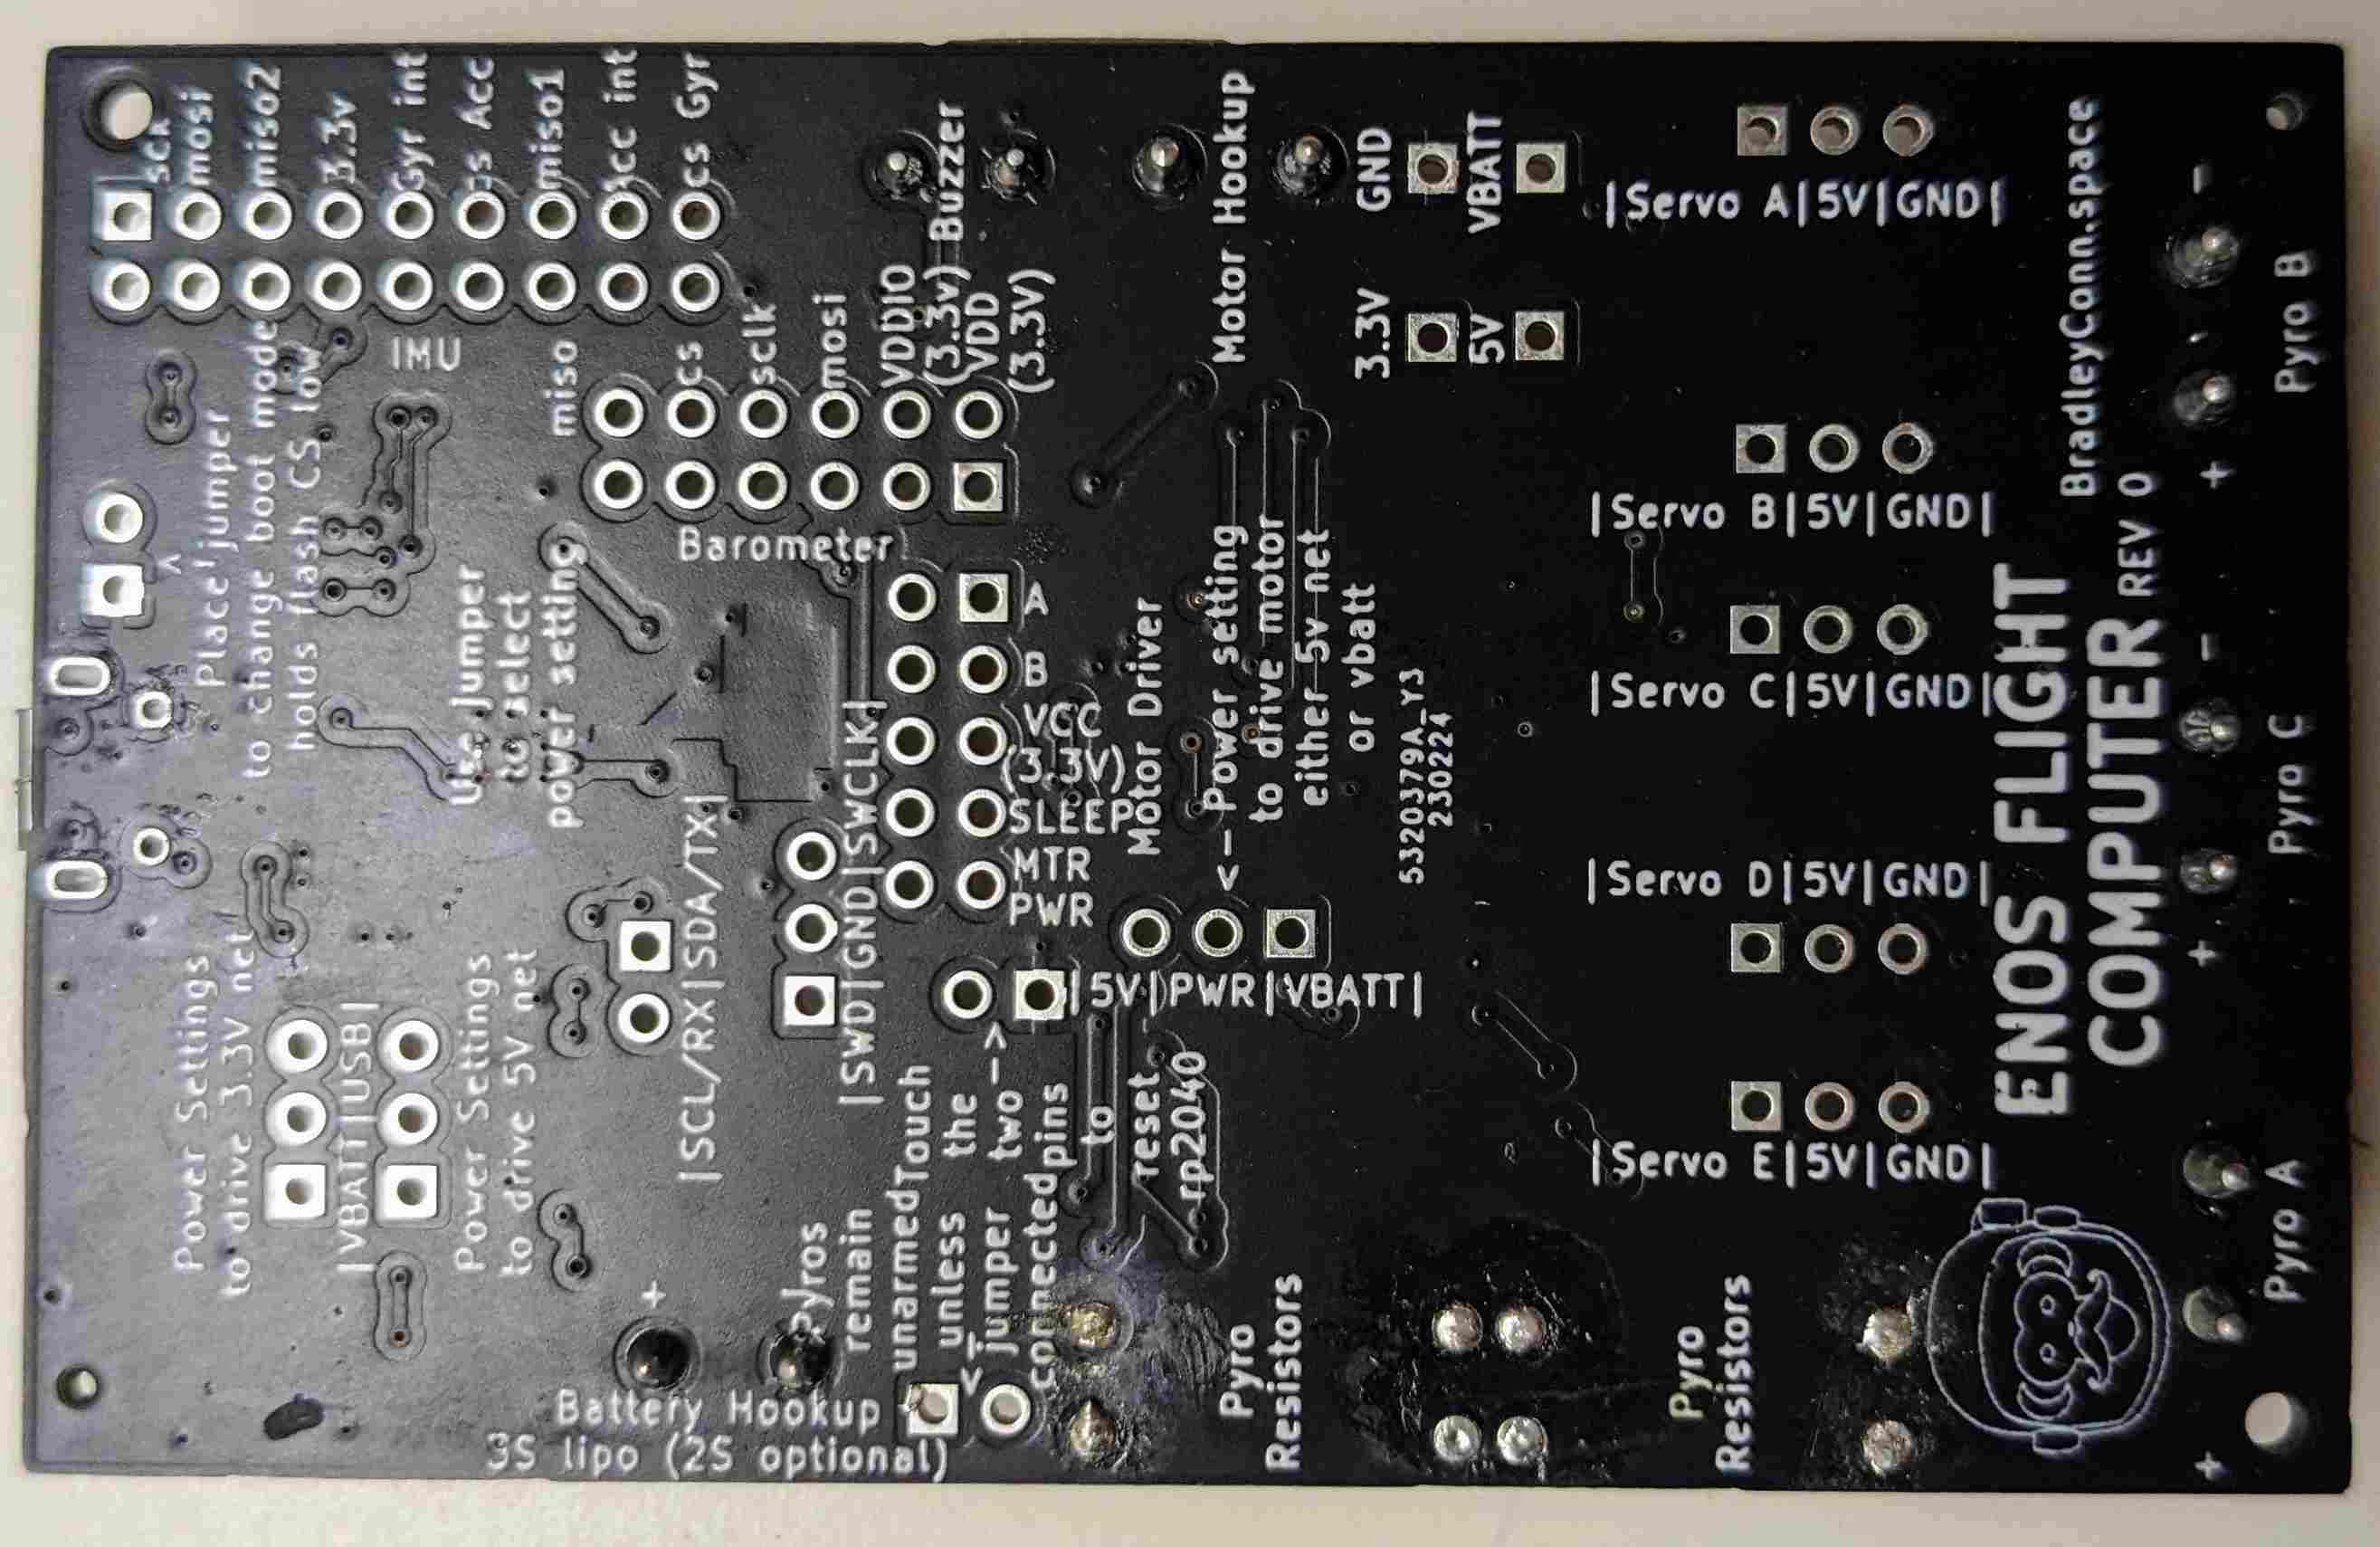
The schematic can be found here.
The schematic is well annotated. The first page and heart of the flight computer, is shown below.
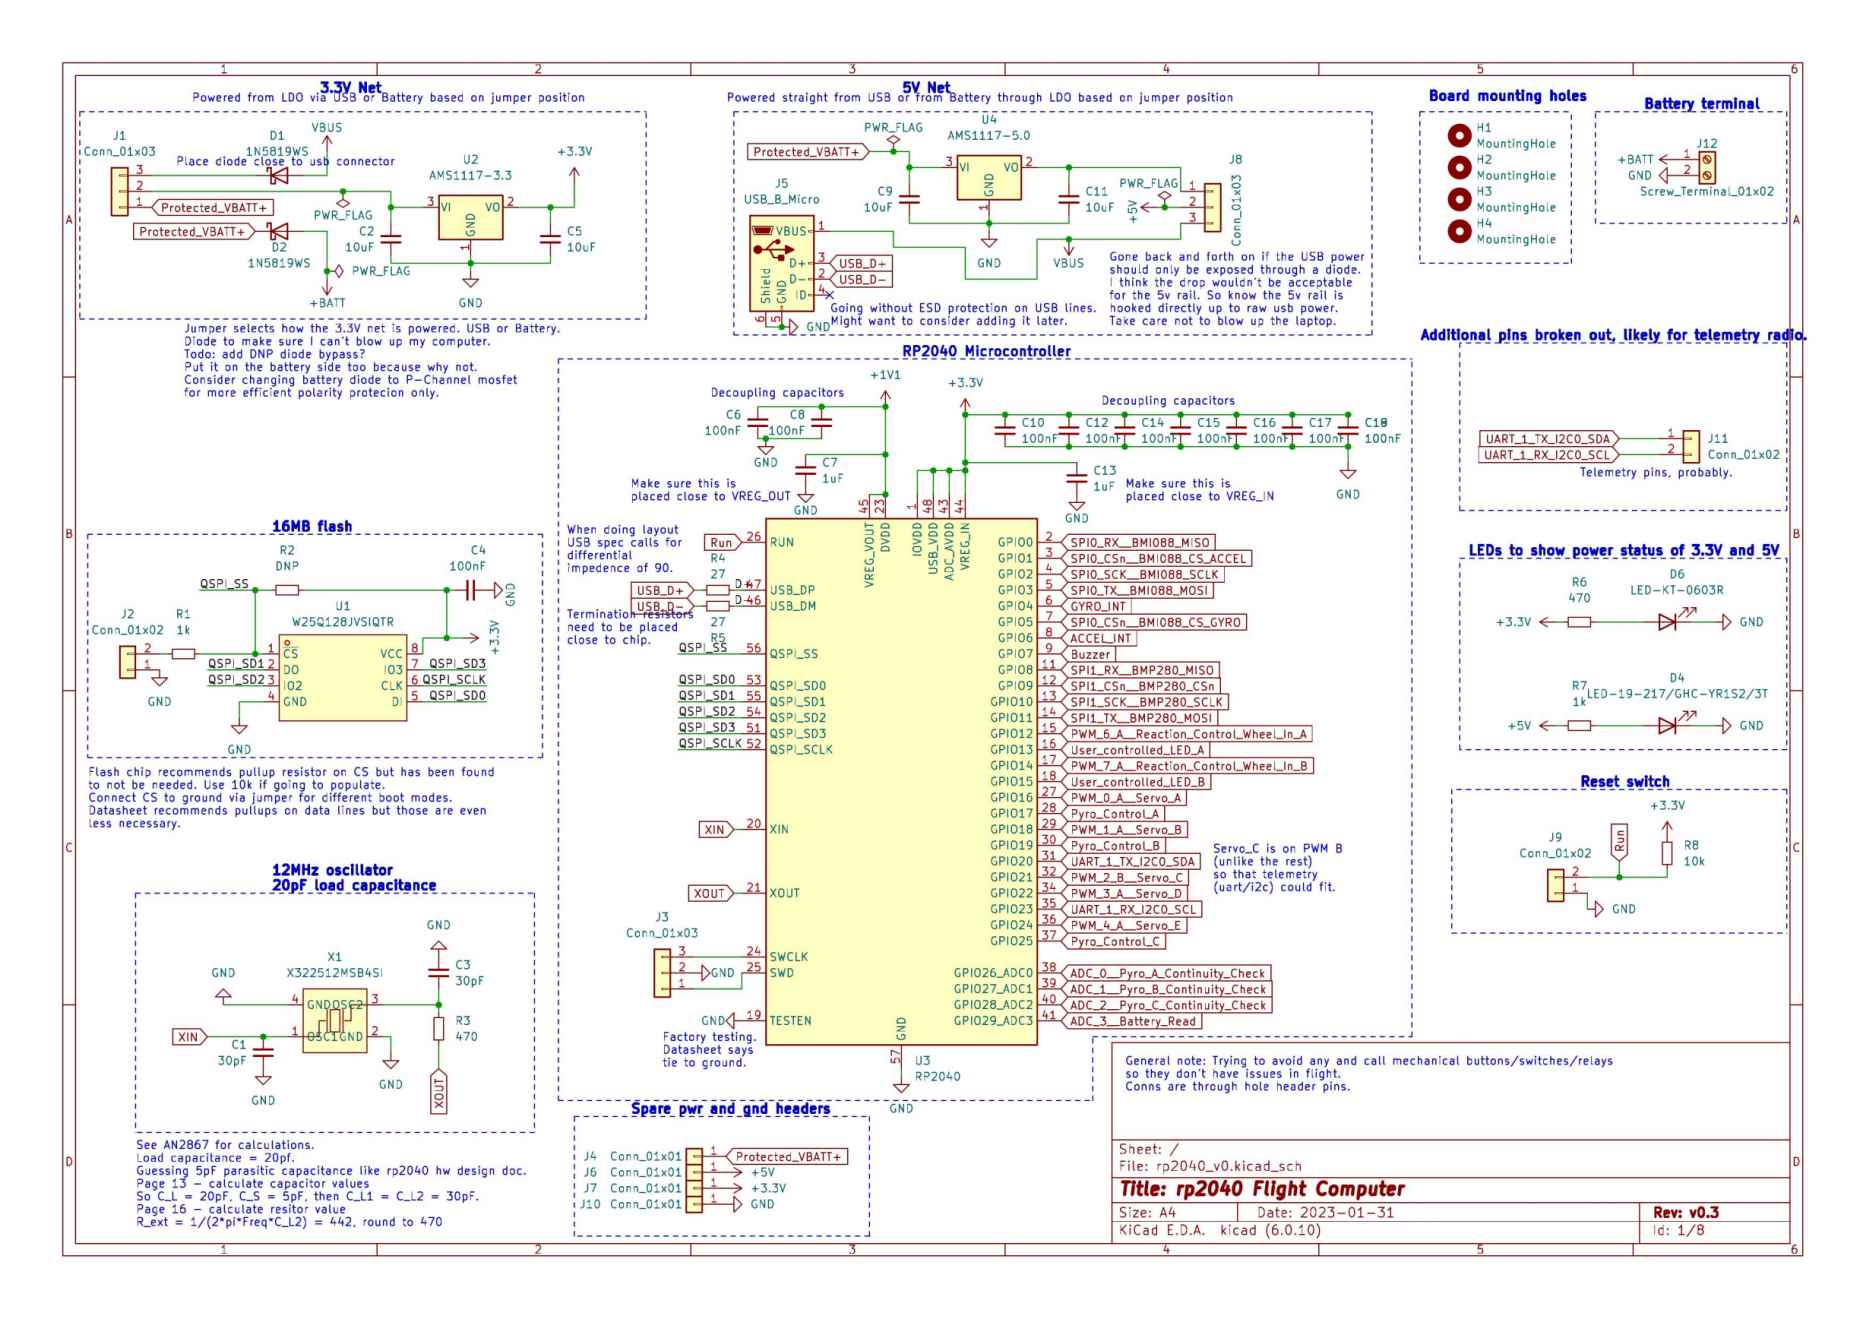
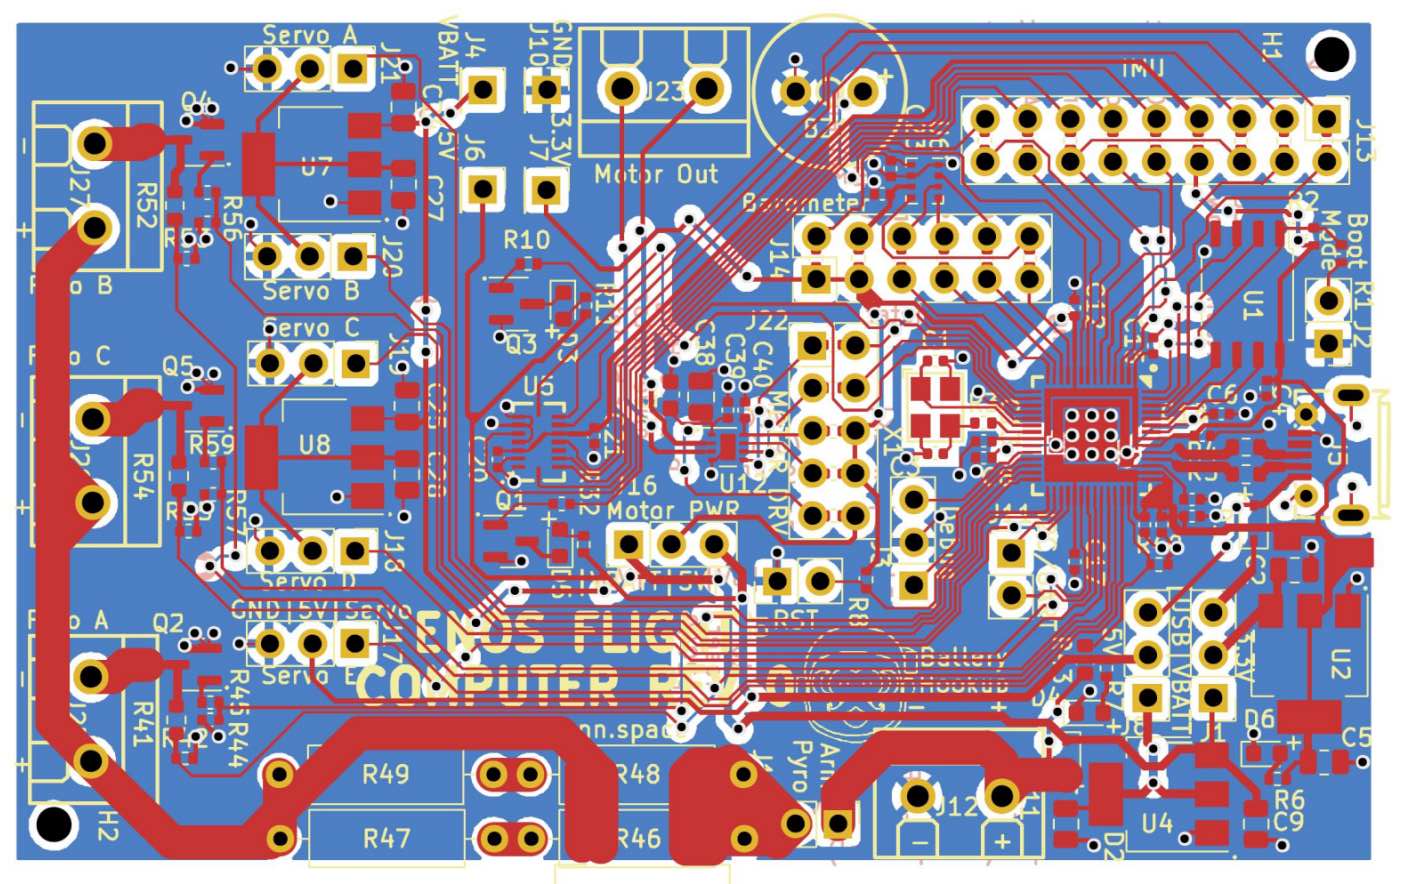
PDF files of the gerbers can be found here and here.
And they look like this:
All of the components are outlined and labeled below.
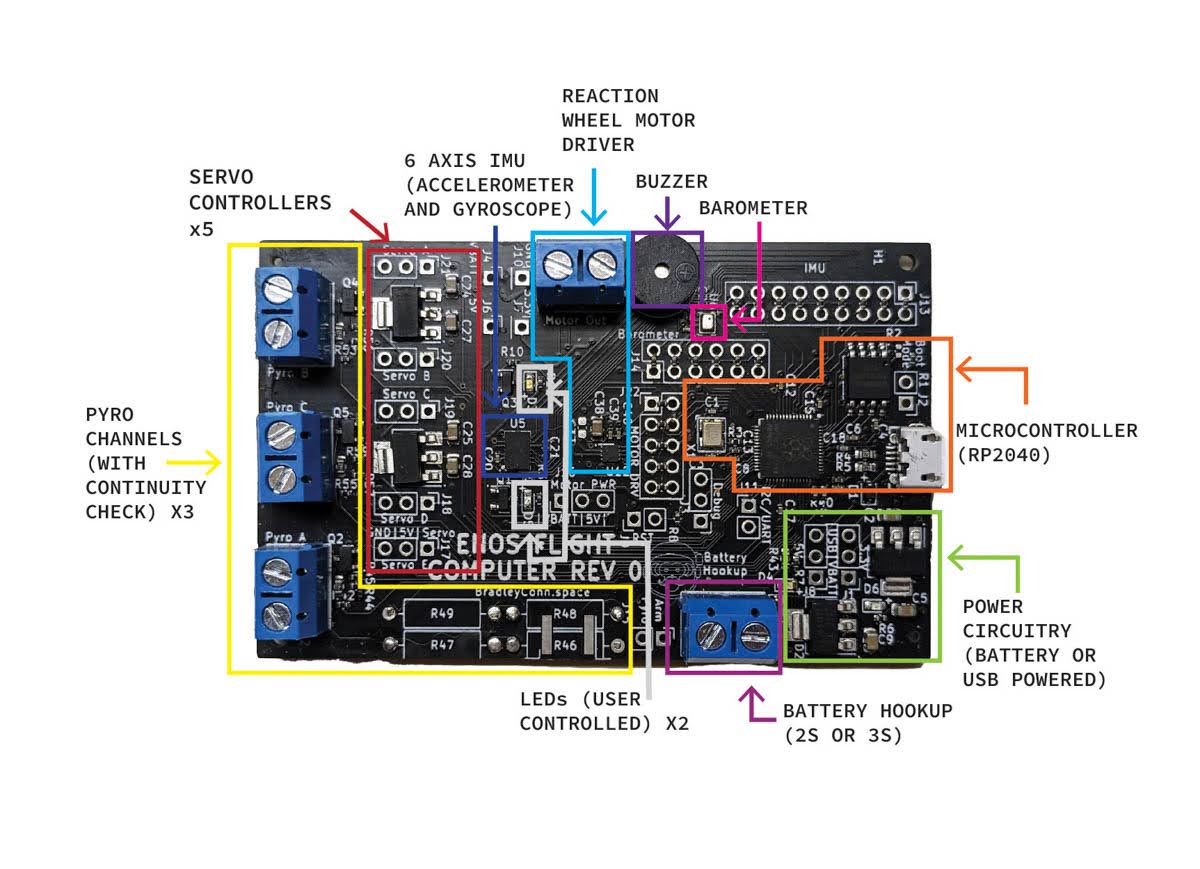
The board typically requires headers to be soldered on. The complete board can be seen here:
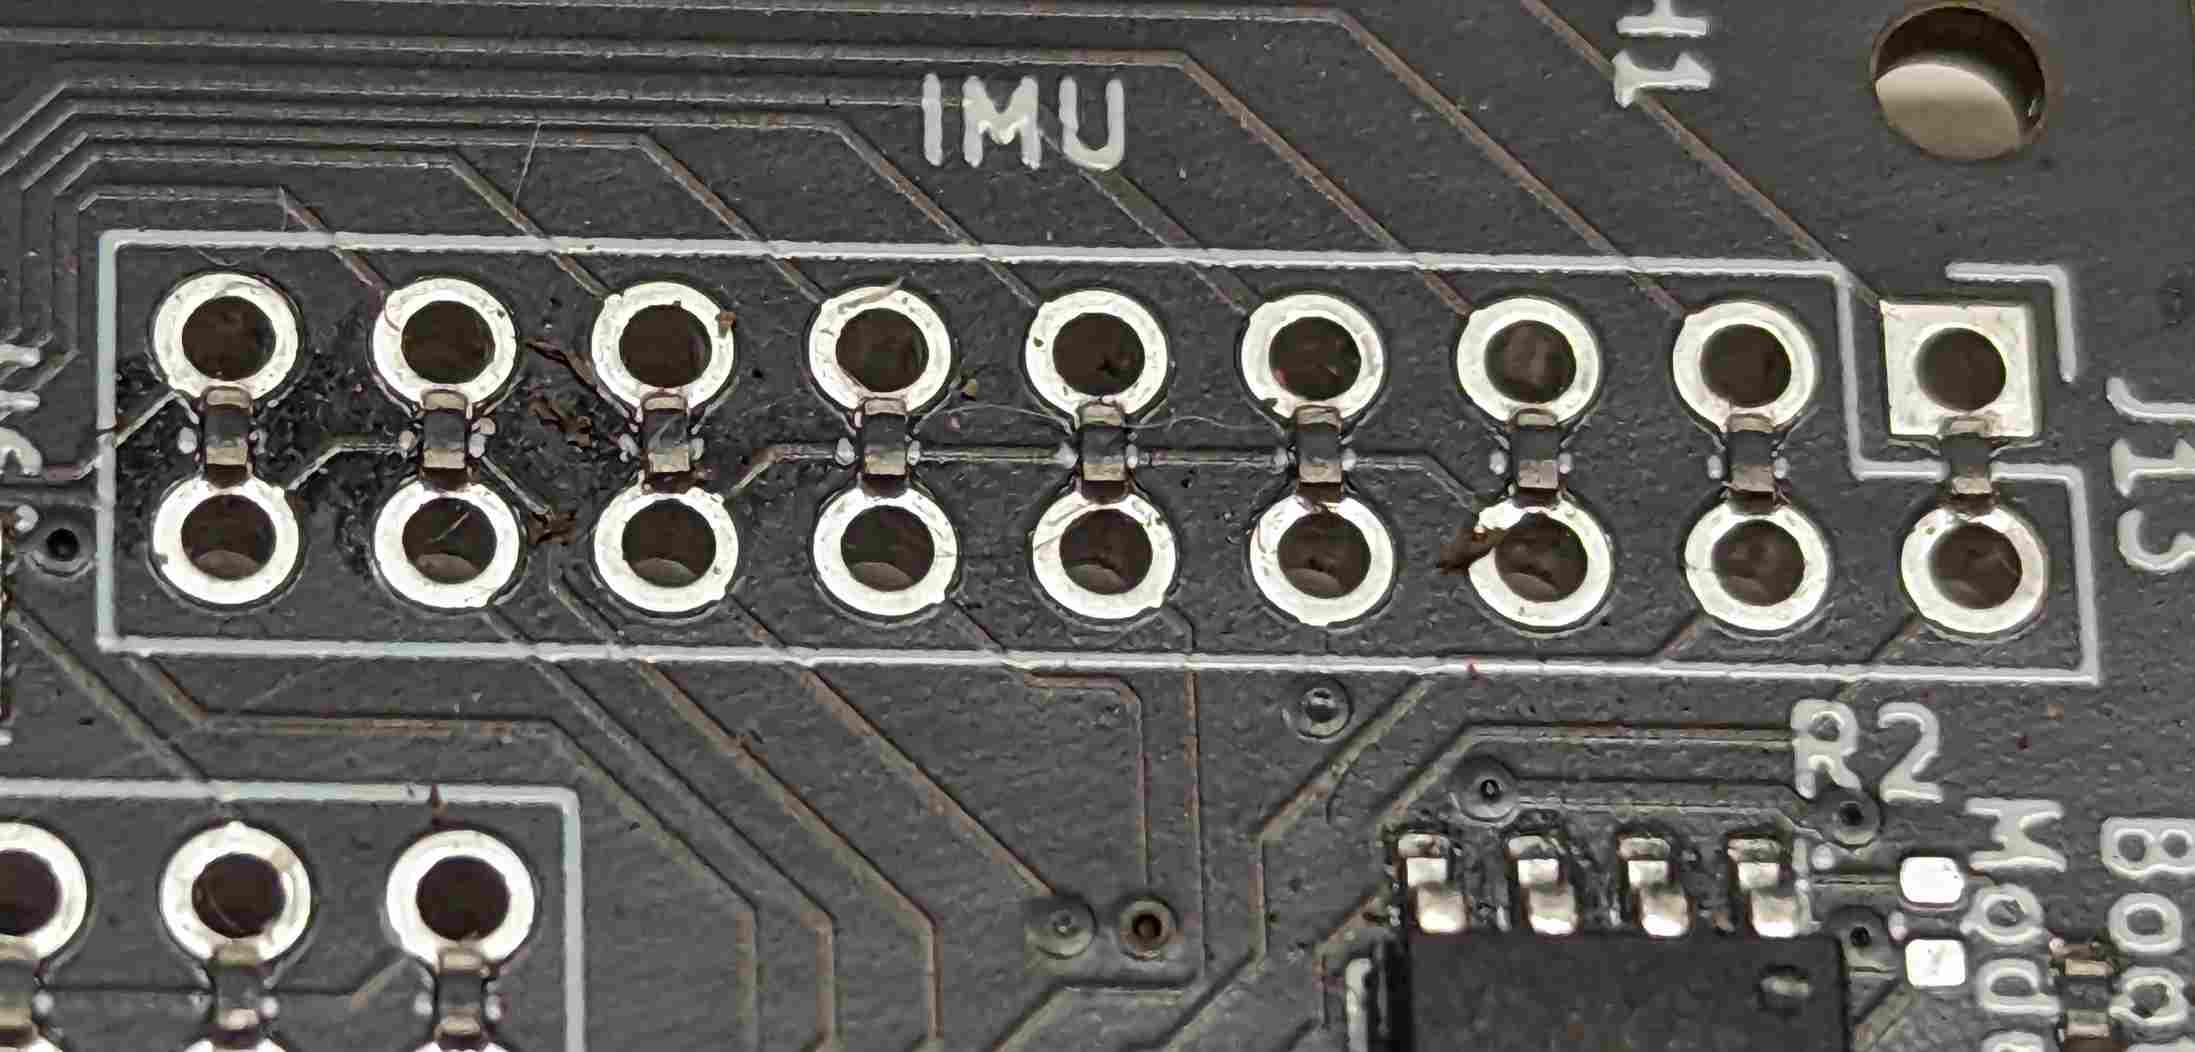
I figured out a neat little trick for this board. I wanted to maintain as much flexibility as I could, not knowing if the board had design flaws or not, as it was my first board. So, each peripheral component had breaks in the signals to disconnect or rewire completely. To save space and also not have to solder extra through-hole components, I used zero Ohm resistors to bridge the signals over the through-holes. They can easily be removed and updated if needed. This also had the benefit of essentially creating an extra layer for the board as the signals rose over the board, and other signals could run underneath the resistor. An example is shown here:
3d modeling and part selection
All of the parts have been purchased, and most of the 3d modeling is complete. I still need to make a launch stand to level out the rocket pre-flight, but I suspect that is the last piece needed.
I have selected Estes E10 motors for initial flight tests as they had a decent optimization between duration, thrust, and price, optimizing slightly more for price as it is unknown how many test flights will be needed before things start running smoothly. After that, Estes F motors should be compatible, and the longest duration that has a greater than 1 thrust-to-weight ratio will be chosen to really put the control loop to the test.
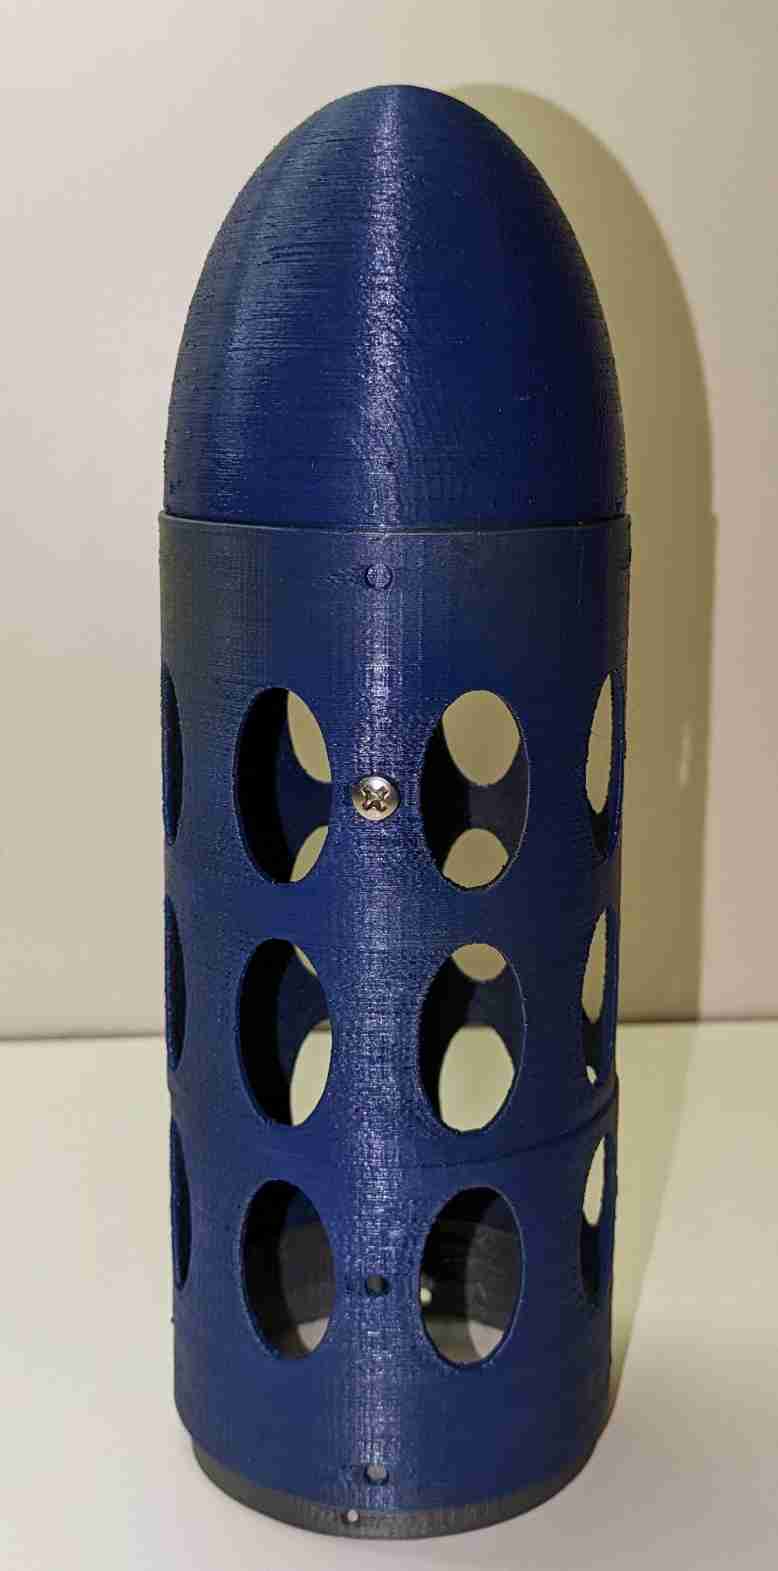
I have done all my 3d modeling in OpenSCAD. The models should be available in the repo. This includes a nose cone, body tube, flight controller mount, parachute ejection mechanism, and more. I 3d modeled and printed the body tube instead of using cardboard tubes to save time. The 3D models have holes to save mass, but more mass savings will be had by switching to cardboard. The holes in the body tube will be covered by tape or paper to help with the aerodynamics. The body tubes can be seen here:
Below is a fun family picture with the body tubes and Enos flight computer.
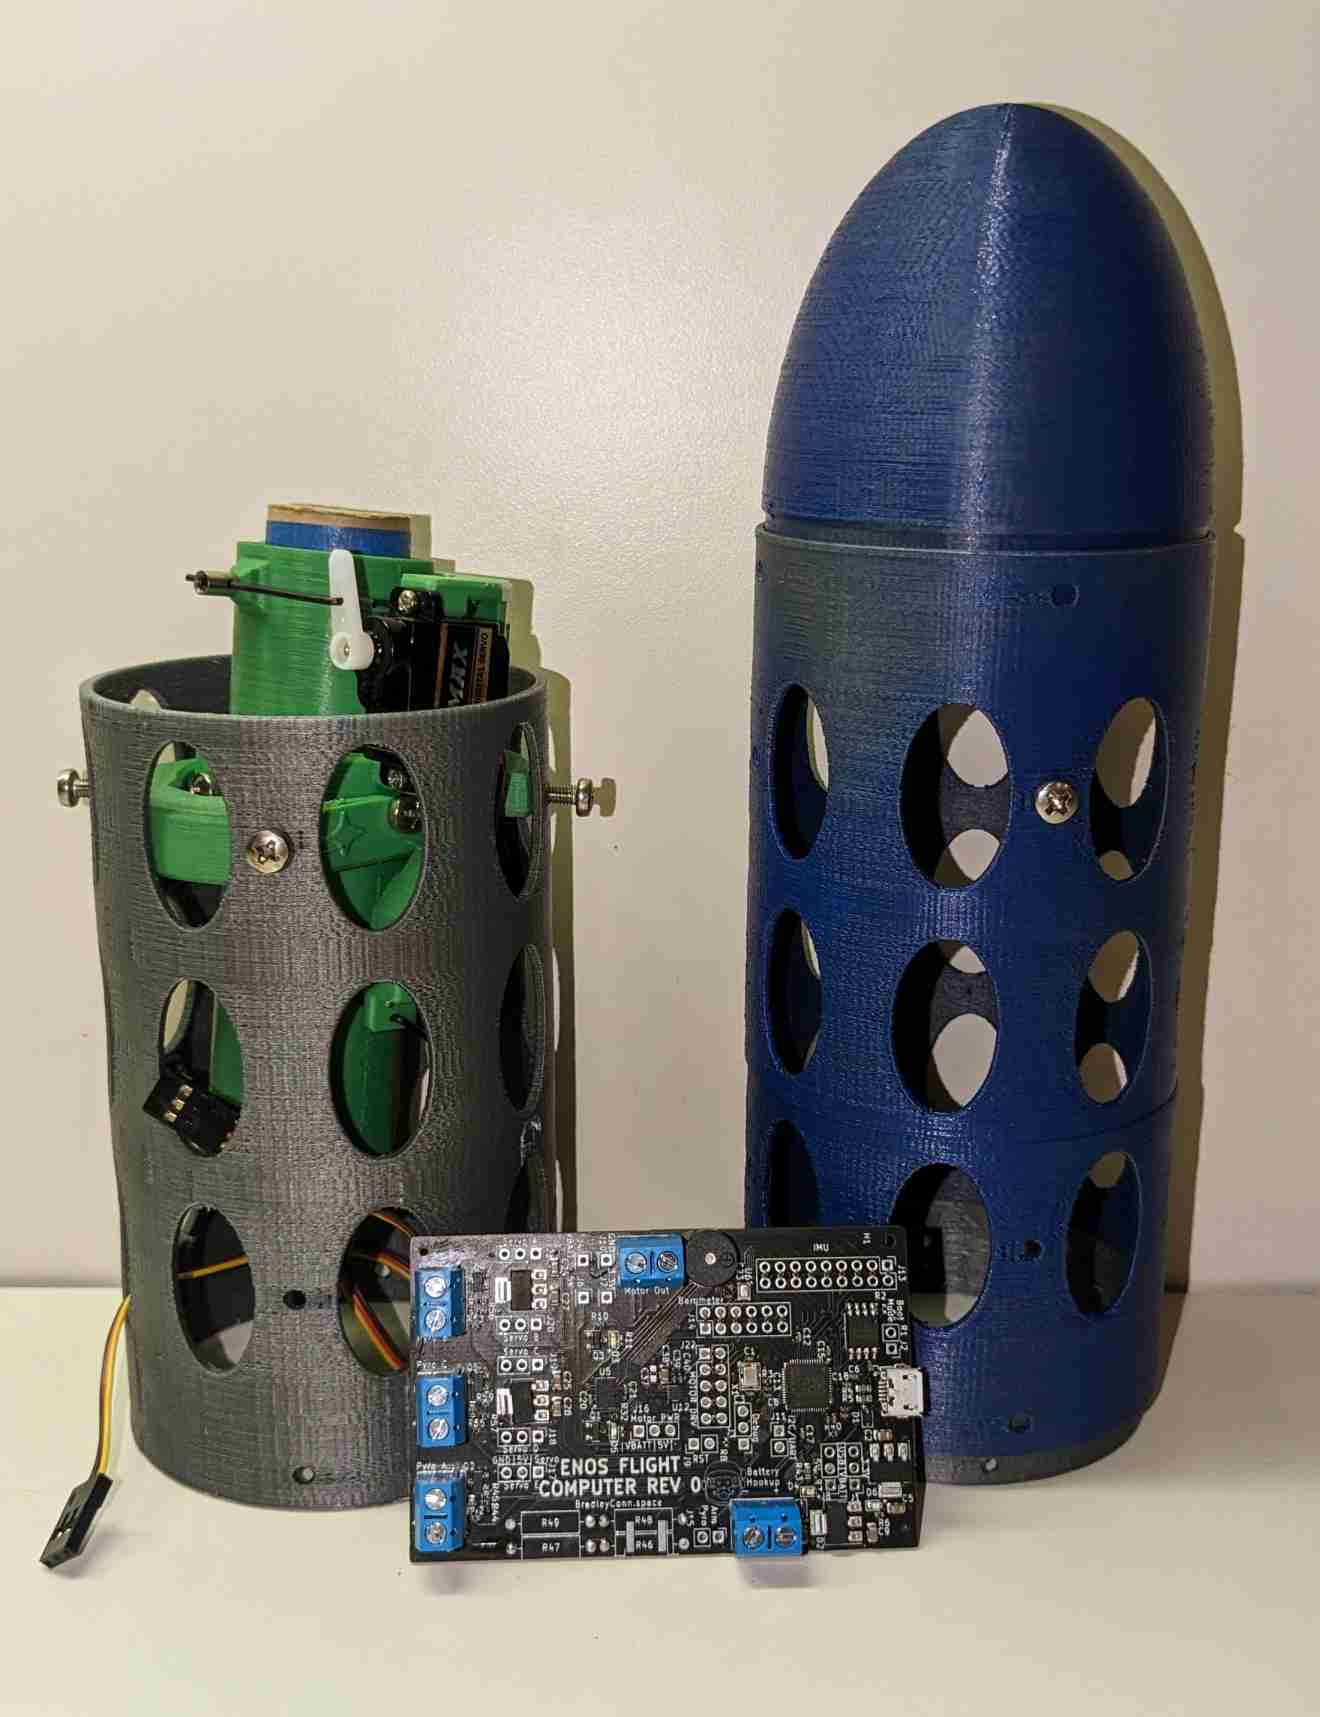
One unique feature of this rocket is the parachute ejection, which is controlled by a servo instead of black powder. I wanted something that was not tedious to set up and was infinitely repeatable. So, I designed a spring mechanism to pop the parachute. It is held by a pin, which gets pulled when it’s time to release the chute. It can be seen below. Note the pin has not yet been cut to length in these images.
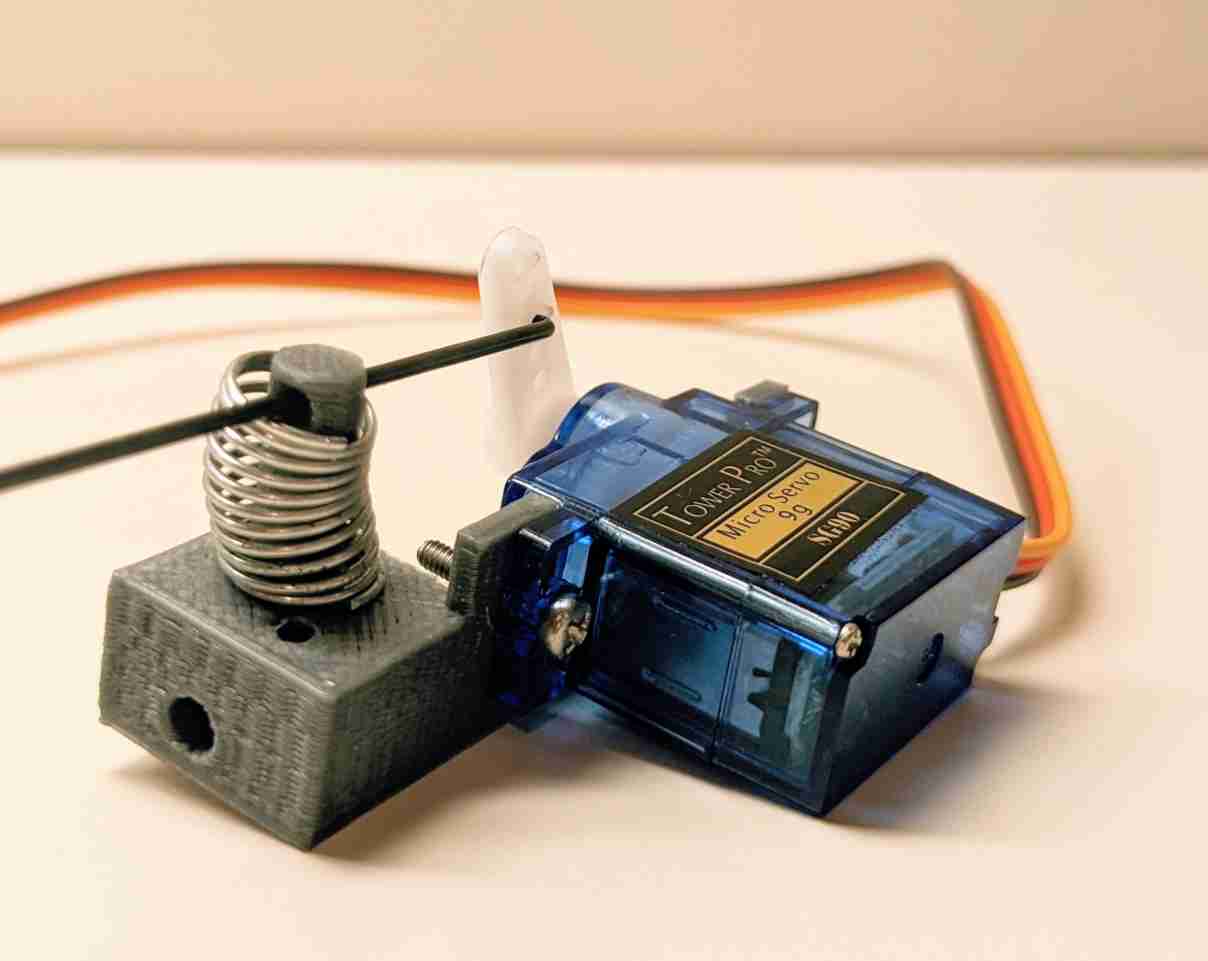
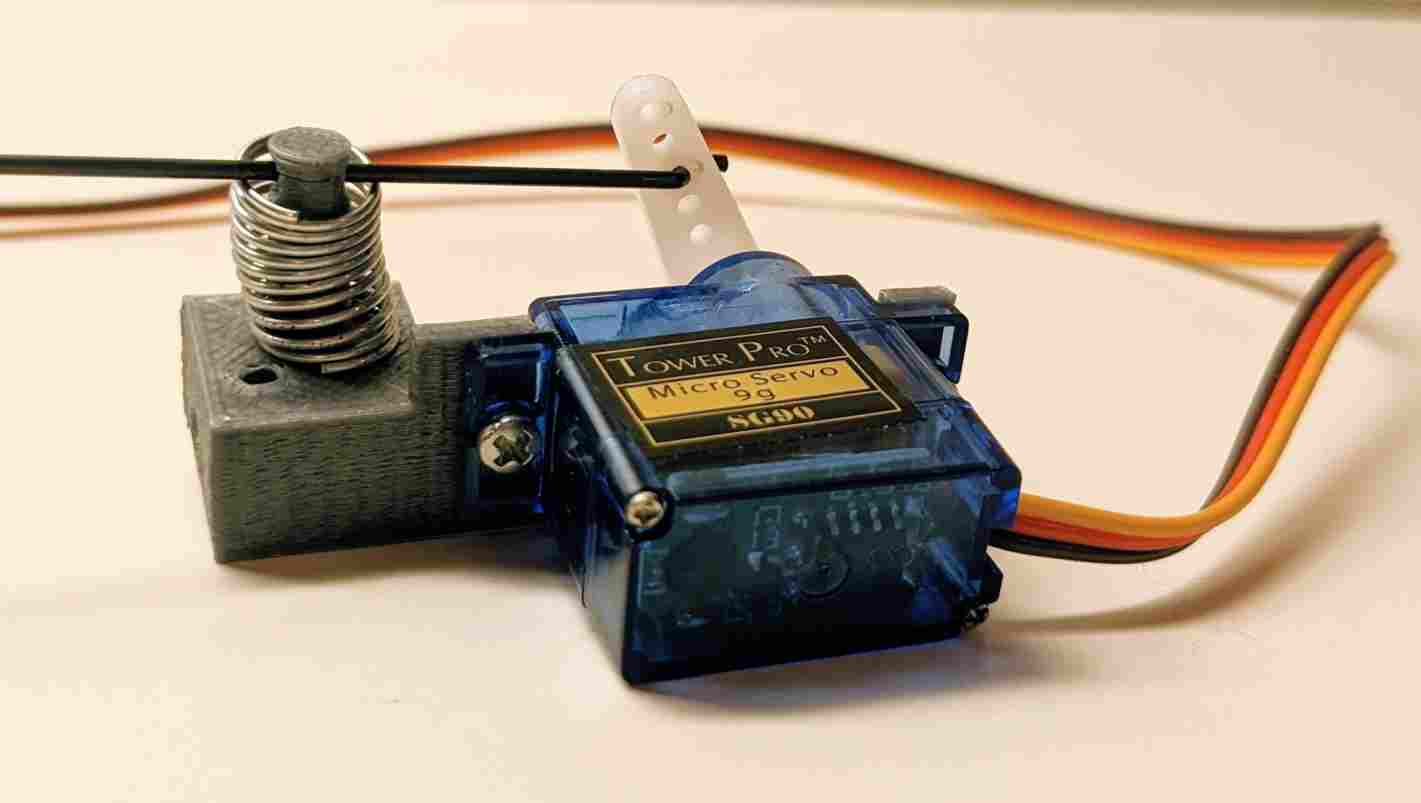
To save time and support a creator I cherish, I bought the TVC mount 3d models and printed those.
Simulation
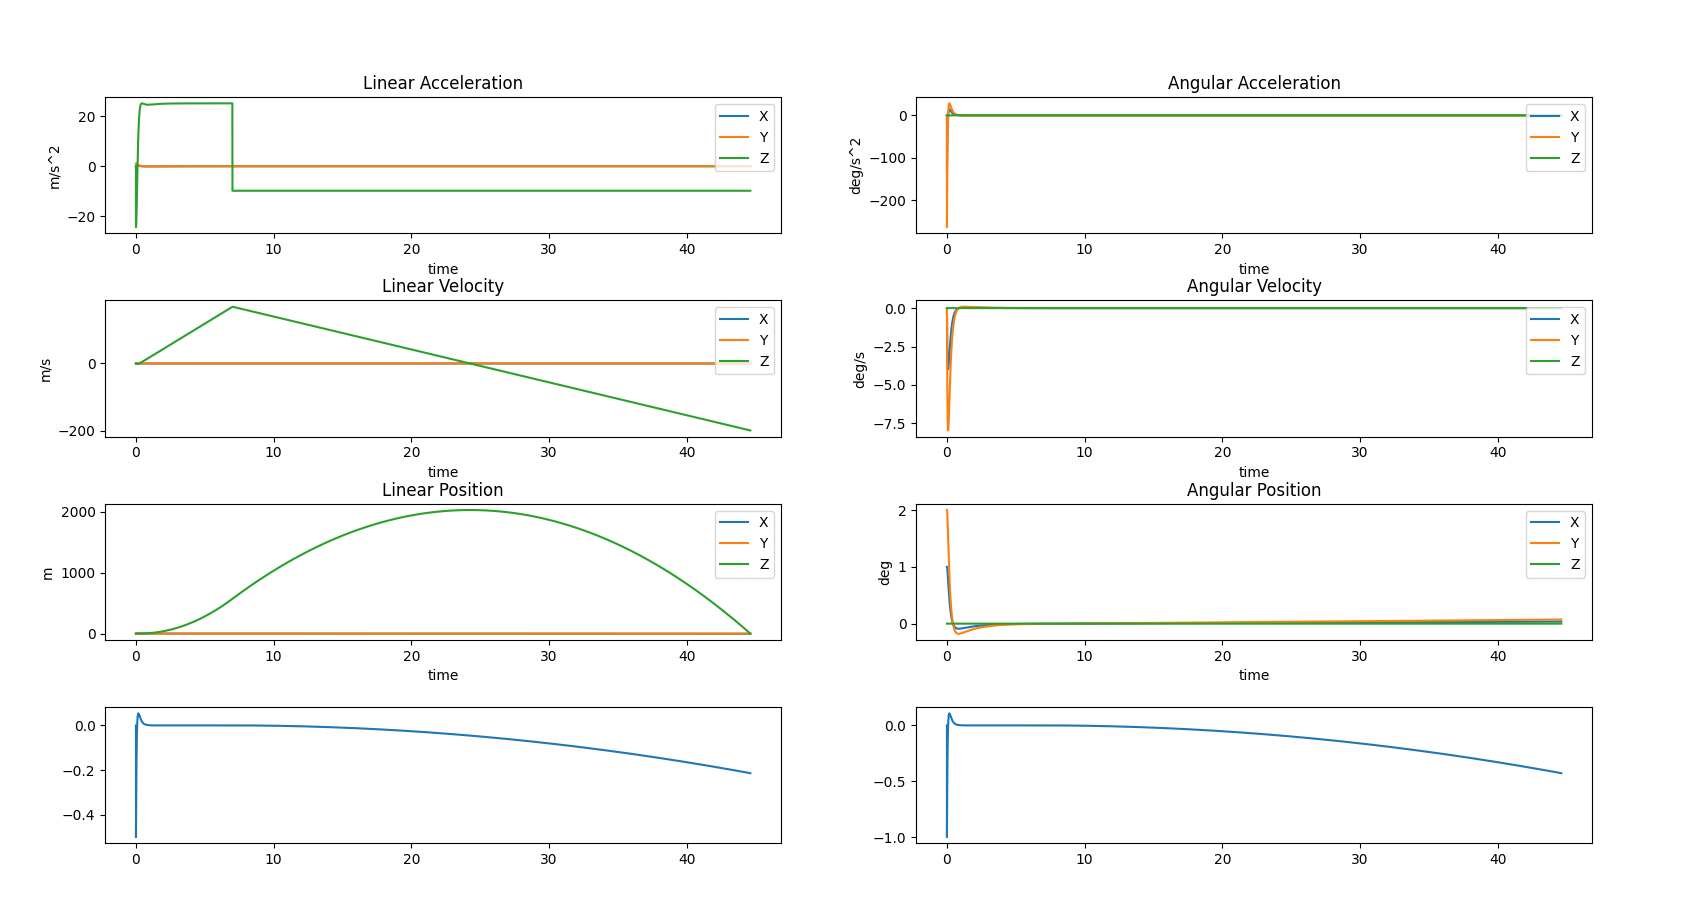
The rocket TVC physics was modeled to enable a playground to test control algorithms. This software was written in Python and should help find suitable control loop parameters. To start, a PID controller is used, with more advanced control algorithms planned. Below is an output from a simulation run while it was being developed.
Software
The software is still in progress, but most of the board has been validated, and all of the drivers have been written except the pyro channels and the reaction control wheel motor driver (optional).
That means there are drivers for the accelerometer and gyro, barometer, buzzer, LEDs, servos, etc.

